Pro Seal LeadLight Cement – Mixing & Application Guide
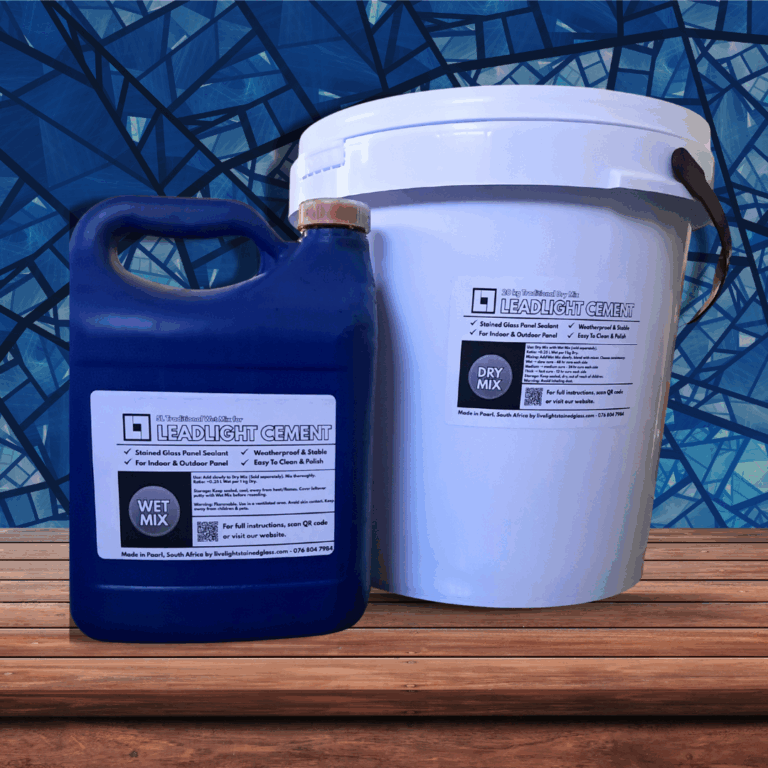
Professional-Grade LeadLight Cement ( Stained Glass Putty)
Our traditional lead light cement is made from a heritage recipe, formulated for long-lasting waterproofing and strength. It’s ideal for sealing stained glass panels, ensuring a perfect finish for restoration or new construction.
What You Need
Materials
Lead Light Cement Dry & Wet Mix
Tools
Small plastic tub with lid (yogurt tubs work well)
Electric mixer
Cut-down paintbrush or stiff bristle brush
Lathekin or similar pressing tool
Scraper or sharp object for cleaning corners
Hard Floor Brush & Electric Polisher/ Soft Floor/Horse Brush
Warning:
Flammable: Wet Mix contains turpentine. Keep away from flames, sparks and hot surfaces. Work in a well-ventilated area.
Choose Your Consistency:
Runny (very wet)
Cure 48 hours per side.
Paste-like (medium)
Cure 24 hours per side.
Thick (firm)
Cure 12 hours per side.
Mixing by Feel – The Traditional Way
You don’t need to measure precisely, this process is based on touch and feel, as glaziers have done for generations.
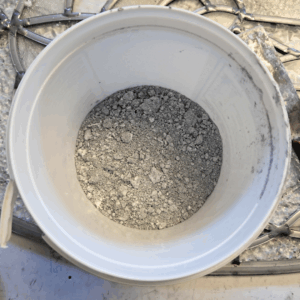
Scoop about half a yogurt tub of dry mix into a clean container.
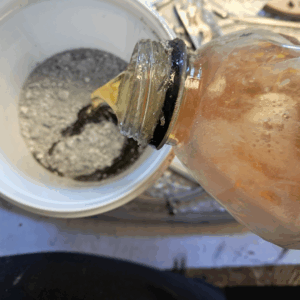
Shake the wet mix before adding. Slowly add some wet mix to the dry mix.
Slowly blend the two ingredients together. *Adjust consistency*
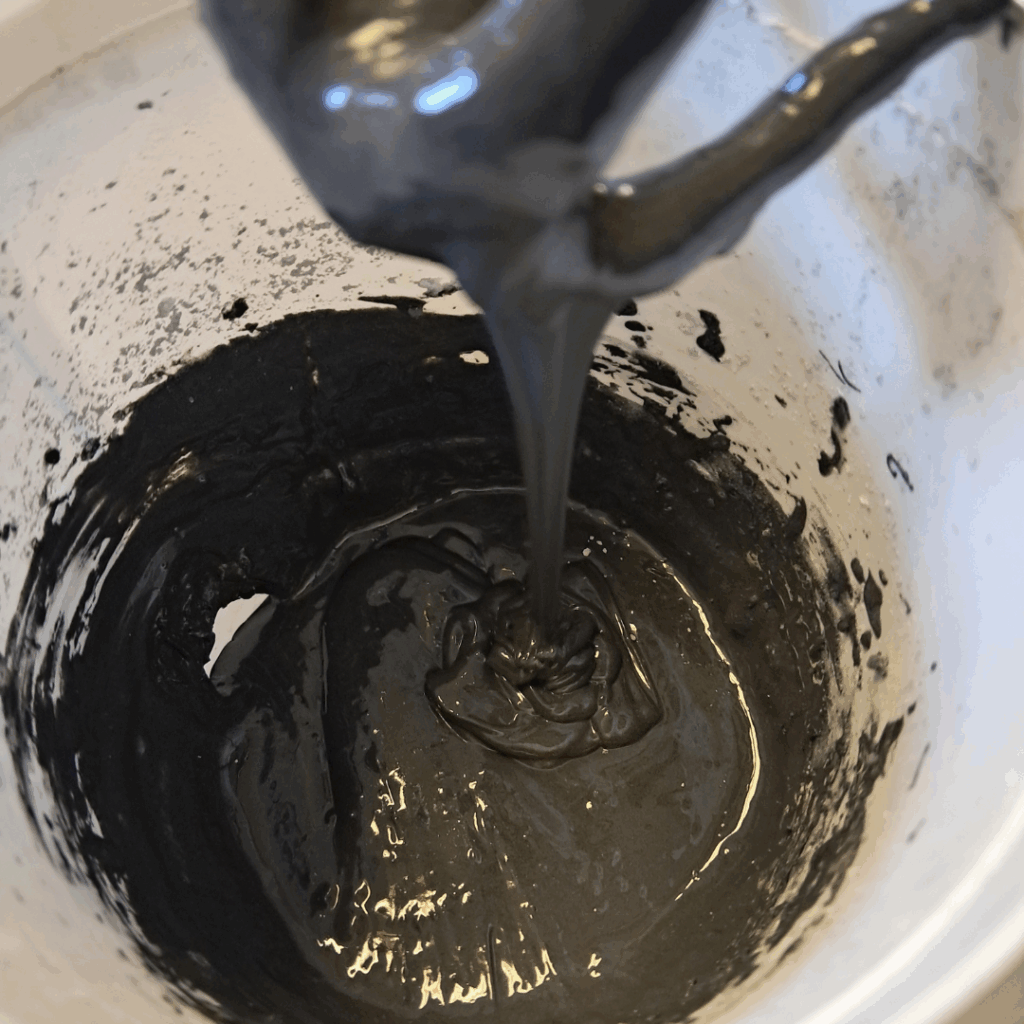
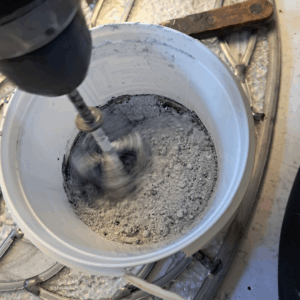
Mix until smooth, with no dry powder visible.
*Too dry → add more wet mix. Too wet → sprinkle in a bit more dry mix.*
💡 Mix only enough for one side at a time for the best results.
Application
1. Prepare the Panel
Patina solder joints only before cementing. Ensure that both the glass and the lead cames are completely clean and dry.
2. Brush Loading
Use a shortened brush to press or brush the cement under the lead came. You can choose to cement one section at a time or an entire window, depending on your preference.
💡 Tip: Cement dries out as it’s exposed to air. If you choose to cement the entire panel at once, the mixture may become too dry to remove easily with a paintbrush.
3. Press & Seat
Use the front edge of a lathekin to press the lip of the lead came down firmly onto the glass. This ensures the cement is properly trapped underneath the lead, improving durability and water resistance. Remove any excess cement with the back of the lathekin.
⚠️ Important: Check for any solder balls under the lead before pressing. Excess solder can cause glass to crack under pressure.
4. Smooth Off
As you work, brush away surface excess with your paintbrush. Any cement that builds up on the surface can be scraped back into your mixing tub for reuse.
5. Clean the Lead Cames
Use a floor brush to scrub the excess cement from the lead cames. This process also helps the leads darken naturally.
If the cames are not dark enough, lightly run a paintbrush over them with residual cement and brush again to achieve a consistent finish.
6. Polish the Panel
Once the surface is clean, use an electric polisher for a professional shine. Alternatively, polish with a soft hand brush to achieve a smooth finish.
7. Curing
Allow cemented side to cure fully before turning the panel and working on the reverse side. Follow your chosen consistency’s recommended curing time.
8. The Reverse Side
Brush off any cement that seeped through before you start. Repeat the same process for reverse side.
9. Finishing
After both sides are cured, use a sharp tool to clean corners and remove any remaining residue. Clean the glass with a cotton rag. Polish the panel one final time for a clean, even surface.
Storage
Leftover mixed putty: Level the surface and cover with a thin layer of wet mix before sealing.
Storage: Keep cool and sealed. Remix thoroughly before reuse.
Do not add dry mix to leftovers — always make a fresh batch if needed.
Wet Mix: Store sealed, away from heat or flame.
Paint Brush: Store the paintbrush tip in some wet mix.
Troubleshooting
Too runny: Let sit uncovered briefly or add dry mix.
Too dry: Add a splash of wet mix.
Cracking after cure: Usually overmixed or too wet, adjust next time.
Leaks: Leaks can occur when the glass does not fit snugly against the lead came, often the result of pieces cut slightly too small.
Optional Ratios (for reference)
Approx. 0.25 L Wet Mix per 1 kg Dry Mix.
Adjust freely by feel.
Final Tip
Every batch is unique. Start small, adjust slowly, and learn the feel that suits your workspace and climate.
Quotes/Questions
Batches Are Made To Order
Use the form below for any questions/orders